
A practical subway tile backsplash guide for importers, distributors and project buyers comparing size, finish, layout and specification details.
A subway tile backsplash looks simple, but the final result depends on more than choosing a colour. Tile dimensions, edge shape, glaze, layout, grout and lighting all affect the finished wall. Importers and project buyers must also consider range structure, batch consistency, carton quantities and replacement stock.
Use this guide to prepare a clear specification before comparing products or requesting samples.
Choose the Subway Tile Size First
The familiar subway-tile proportion is available in many dimensions. Smaller formats can suit compact splashbacks and detailed patterns. Longer formats create stronger horizontal lines and can reduce the number of joints.
Do not specify a product by a nominal size alone. Confirm:
- actual length, width and thickness;
- calibrated or intentionally irregular edges;
- recommended joint width;
- pieces and square metres per carton;
- trim and corner-piece availability.
For shipment planning, see Ceraglow's guide to subway tile sizes and export packaging.
Compare Glaze, Surface and Edge Details
A white subway tile backsplash may be glossy, matt, softly textured or deliberately uneven. Gloss can reflect light and make a small area feel brighter, while matt and textured surfaces create a softer or more handcrafted appearance.
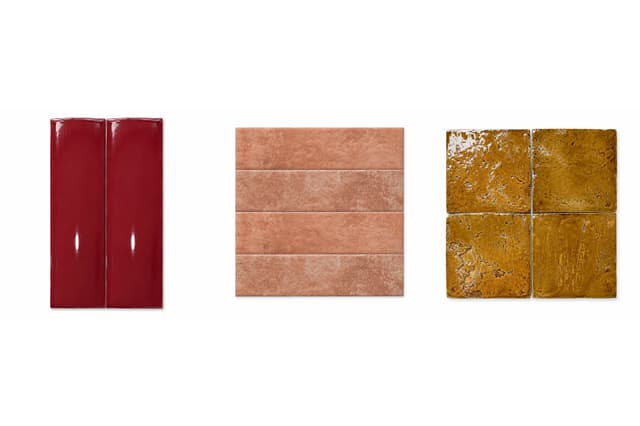
Ask for several pieces rather than judging one sample. Review colour variation, glaze coverage, edge definition and surface structure under the lighting planned for the project. The article on choosing tile finish by application explains how appearance and maintenance requirements should be evaluated together.
Select a Layout That Matches the Product
Common subway tile backsplash layouts include:
- horizontal running bond;
- vertical running bond;
- stacked horizontal or vertical rows;
- herringbone;
- basketweave or mixed decorative layouts.
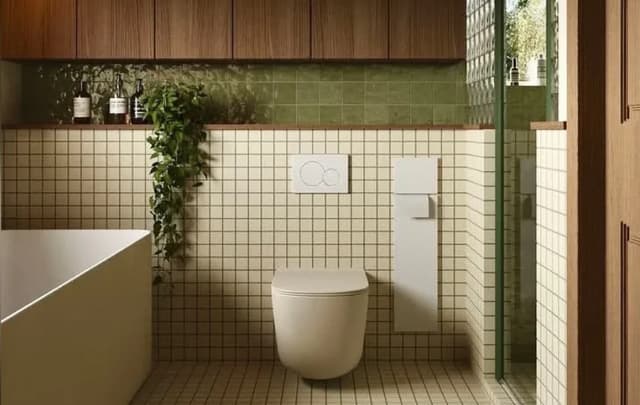
The tile's dimensions and edge character influence joint alignment. Before approving a pattern, prepare a sample panel with the proposed tile, joint width, grout colour and orientation. For irregular or textured products, a mock-up also reveals shadow lines that are difficult to judge from a catalogue image.
Treat Grout as Part of the Design
Grout close to the tile colour creates a quieter surface. Contrasting grout makes every joint and dimensional variation more visible. This can be intentional, but it requires careful alignment and consistent installation.
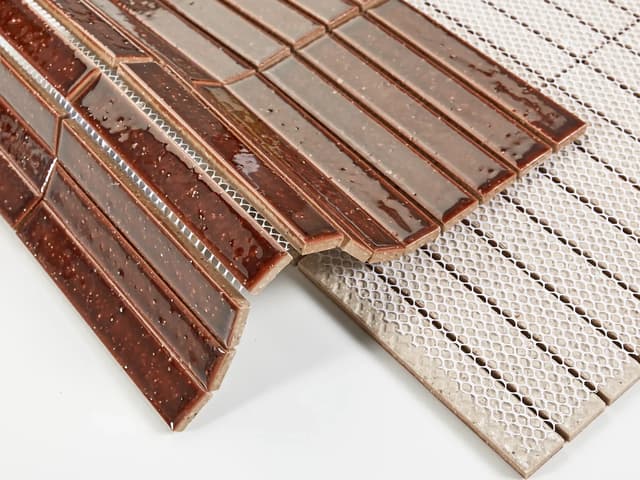
Confirm that the grout and cleaning method are compatible with the tile surface. A deeply textured or crackle-style glaze may need additional protection or a controlled cleanup process. Follow the grout and tile manufacturers' current instructions rather than relying on a universal method.
The Tile Council of North America's installation handbook includes guidance on substrates, grout joints, patterns and wet-area installation. Project specifications should also follow the applicable local standards and installation system.
Build a Range for More Than One Room
For distributors, the strongest range is rarely a single white SKU. A practical assortment may combine core neutrals, selected colours, smooth and textured options, and compatible trims. The same collection can serve kitchen backsplashes, bathroom walls, cafés, retail interiors and hospitality projects.
Review the current Ceraglow subway tile collection alongside the wider indoor wall tile range. When planning a wholesale programme, the guide to building a market-ready tile assortment can help control duplicated colours and formats.
Buyer's Specification Checklist
- Intended application and destination market.
- Required dimensions, thickness and edge style.
- Colour, finish, texture and variation expectations.
- Proposed layout, joint width and grout colour.
- Required quantity and acceptable overage.
- Carton, barcode, private-label and pallet requirements.
- Sample, test-document and delivery requirements.
The specification should identify the exact approved product. Generic labels such as “white ceramic subway tile” are not enough for production control.
Frequently Asked Questions
Is subway tile suitable for kitchen backsplashes?
Many ceramic subway tiles are intended for interior walls, but suitability must be confirmed for the exact product, substrate, adhesive, grout and cleaning conditions.
Which subway tile layout is easiest to merchandise?
Running bond and stacked layouts are easy to communicate, while herringbone can create a stronger feature display. Test each layout with the actual tile dimensions and edge character.
How should importers compare subway tile samples?
Compare several pieces for colour, dimensions, glaze, surface, edge quality and variation. Record the approved sample and specification before production.
Join the discussion
Your email address will not be published. Required fields are marked.