A ceramic tile quality inspection should compare a representative sample with an approved specification, not with an inspector’s personal preference. […]
A ceramic tile quality inspection should compare a representative sample with an approved specification, not with an inspector’s personal preference. The process needs agreed lighting, calibrated equipment, clear defect definitions and traceable records. It should also distinguish visible inspection from laboratory testing: a factory check cannot prove every performance property of a tile.
This guide focuses on the finished product: surface appearance, shade and design variation, dimensions, flatness, dry layout and defect classification. For sampling, quantity, packaging and loading, start with the Tile Pre-Shipment Inspection Checklist for Importers.
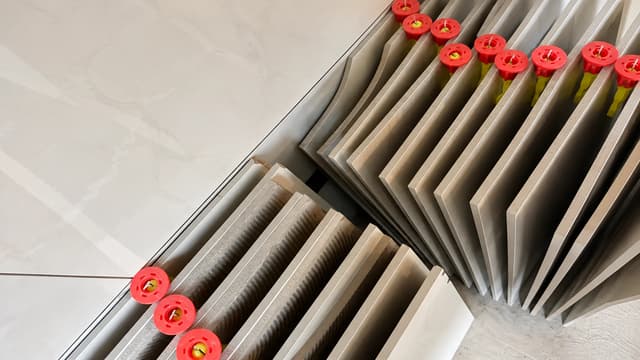
Prepare the samples and inspection conditions
Confirm the product code, lot, shade, calibre, size, thickness, edge and finish before inspecting appearance. Select cartons from different parts of the defined lot and record every carton opened.
Use stable lighting and an agreed viewing distance. Remove loose dust before classifying a mark. Inspectors should also understand the intended design: a uniform plain tile, a handmade-look wall tile and a stone-look product with deliberate variation require different visual references.
Inspect the tile surface and edges
Review every selected piece systematically. Observations may include:
- chips, broken corners and edge damage;
- cracks or visible body faults;
- pinholes, glaze faults and contamination;
- scratches, scuffs or polishing marks;
- unintended stains or foreign material;
- printing defects or repeated pattern faces;
- unintended waviness, relief or texture;
- incorrect colour, sheen or edge treatment.
Record the location and extent of each finding. Pair each close-up with a whole-tile image and the sample identity.
Review shade and design variation across several tiles
Lay multiple samples together under representative lighting. Compare the group with the approved range, not only one production tile with one control piece.
Check consistency within the declared shade group, pattern distribution, repeated faces, directional designs and obvious clusters. Consider whether cartons intended for the same installation can be combined without creating an unintended patch or band.
Design variation is not automatically a defect. The inspection should decide whether the observed range matches what was approved and labelled. If the product has directional arrows or rotation guidance, include those instructions in the layout review.
Measure dimensions using the specified method
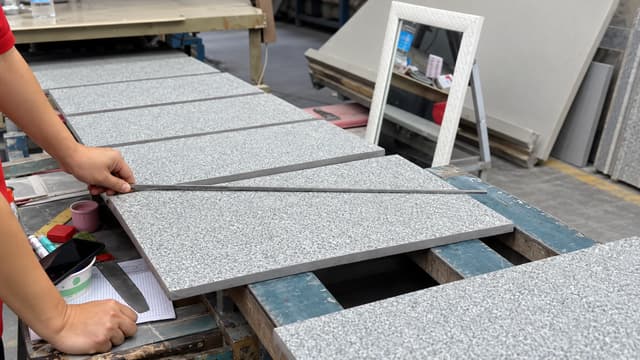
Use calibrated equipment and record individual results rather than only an average. Depending on the product and specification, checks may include:
- length and width;
- thickness;
- straightness of sides;
- rectangularity;
- centre, edge and corner curvature or other flatness measurements.
ISO 10545-2:2018 specifies methods for determining ceramic-tile dimensions and surface quality and remains current after its 2024 review. ASTM C499-20 covers facial dimensions and thickness for flat rectangular ceramic wall and floor tile. Use the standard and tolerances named in the contract; do not mix methods or limits from different systems.
Confirm whether the specification refers to nominal size, work size or measured size. These terms are not interchangeable. Tile format, joint width and installation layout should be coordinated before ordering.
Check flatness on a suitable surface
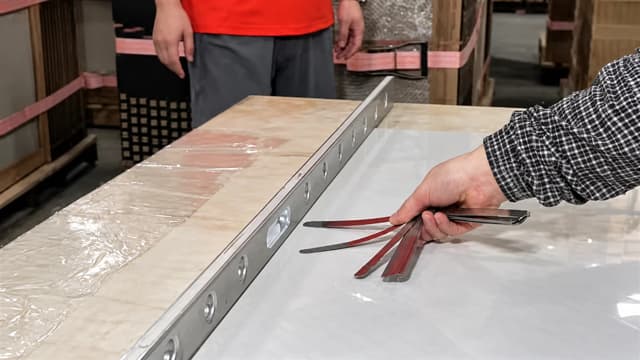
Flatness concerns can appear as centre curvature, edge curvature, corner warpage or rocking. Use the equipment and procedure required by the agreed standard, with a clean inspection surface and identifiable samples.
Record the measurement position, instrument and result. Review substrate flatness, adhesive coverage, joint width and installation conditions before deciding the project impact.
Use a dry layout to see the assembled surface

A dry layout makes shade, pattern, edge alignment and joint consistency easier to assess. Arrange a defined number of pieces on a flat surface with the intended orientation and a representative joint.
Review overall balance, pattern continuity, repeated faces, shade distribution, edge alignment, rocking and directional marks. Photograph the full layout and retain the sample identities. A dry layout is an inspection aid; it does not replace dimensional testing or professional installation assessment.
Separate factory checks from laboratory tests
Informal tapping, soaking, scratching or impact demonstrations are not substitutes for standard tests. Water absorption, breaking strength, abrasion, chemical resistance and slip-related characteristics require the relevant method, suitable equipment and product-specific evidence.
For absorption classifications, read Tile Water Absorption Ratings Explained. For project selection in wet or exterior conditions, continue with Tile Water Absorption for Project Specification.
Classify defects consistently
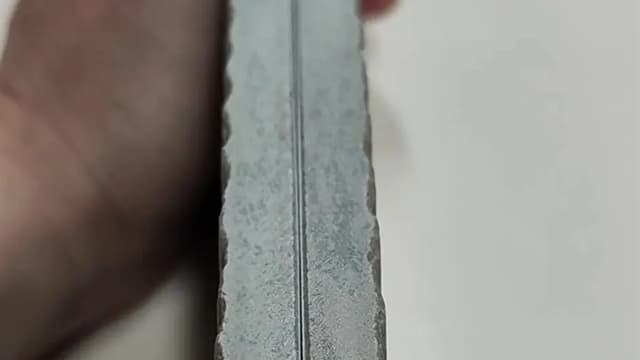
The contract should define critical, major and minor defects with product-specific examples.
- Critical: an agreed defect presenting an unacceptable safety, legal or regulatory risk.
- Major: a defect likely to make the product unsuitable for its intended use, disrupt installation, cause customer rejection or materially differ from the specification.
- Minor: a deviation outside the agreed appearance or workmanship requirement that does not materially reduce intended use.
These labels are not universal conclusions. Add photographs and written examples so different inspectors classify the same condition consistently. Record borderline findings separately rather than forcing them into a category without buyer guidance.
Create evidence the buyer can review
The report should connect every result to the order, item, lot, carton or sample. Include individual measurements, defect counts by category, layout images, equipment details where relevant and any deviation from the planned method. Keep original photographs available.
When a finding exceeds the agreed criteria, identify the affected lot and investigate before shipment. The next action may be increased sampling, sorting, replacement, rework, laboratory testing or reinspection. Release decisions belong to the authorised buyer under the contract.
Frequently asked questions
Can appearance confirm whether a tile is porcelain?
No. Colour, weight and the appearance of a broken edge may provide clues, but classification requires the applicable test evidence.
Is shade variation always a tile defect?
No. Some products intentionally reproduce varied stone, handmade or fired surfaces. The inspection should compare the assembled range with the approved sample and declared variation.
Does a dry layout replace dimensional measurement?
No. It helps reveal visual and assembly issues, but dimensional compliance must be checked with the specified method and equipment.
Review the product against the project brief
Ceraglow supports distributors, importers and project teams with samples, technical information and quality-control coordination. Share the intended application, destination market, size, finish, quantity, approved reference and inspection requirements for an initial review.
Written by Ceraglow Product R&D Department. Reviewed by Ceraglow Content Review Department.
Join the discussion
Your email address will not be published. Required fields are marked.